The Mistake I Didn’t Notice at First
If you’ve ever stood in your spotless kitchen and thought, “Why does everything still look dull?” — I’ve been there.
For years, I cleaned the surfaces in my Destin home with all the “right” products. Or so I thought. My counters gleamed for a day, my glass sparkled for a few hours, and my floors looked freshly mopped — until the next morning, when the shine turned flat and streaks appeared in the sunlight.
I blamed the humidity, the coastal air, even the lighting. But the truth was simpler — I was damaging my surfaces while trying to protect them.
How “Extra Clean” Became the Problem
The issue started small. I used multi-surface sprays on everything — glass, stone, wood — thinking they were safe. But many of them left behind invisible layers of film, silicone, or acid residue that built up over time.
Every wipe made the surface smoother to the touch but weaker underneath.
My wooden table began losing its matte finish. My stainless-steel fridge turned patchy. Even my floorboards started squeaking where moisture had soaked through too many “wet cleans.”
I didn’t realize that most everyday cleaners are designed for speed and scent, not preservation. They make things look good immediately — but over months, they quietly eat away at coatings, finishes, and sealants.
The Destin Factor
In Destin’s climate, everything happens faster. The humidity keeps residues sticky longer. Salt in the air interacts with cleaning chemicals, especially on metal and glass.
So while I thought I was polishing, I was actually accelerating corrosion and dulling protective layers that should’ve lasted years.
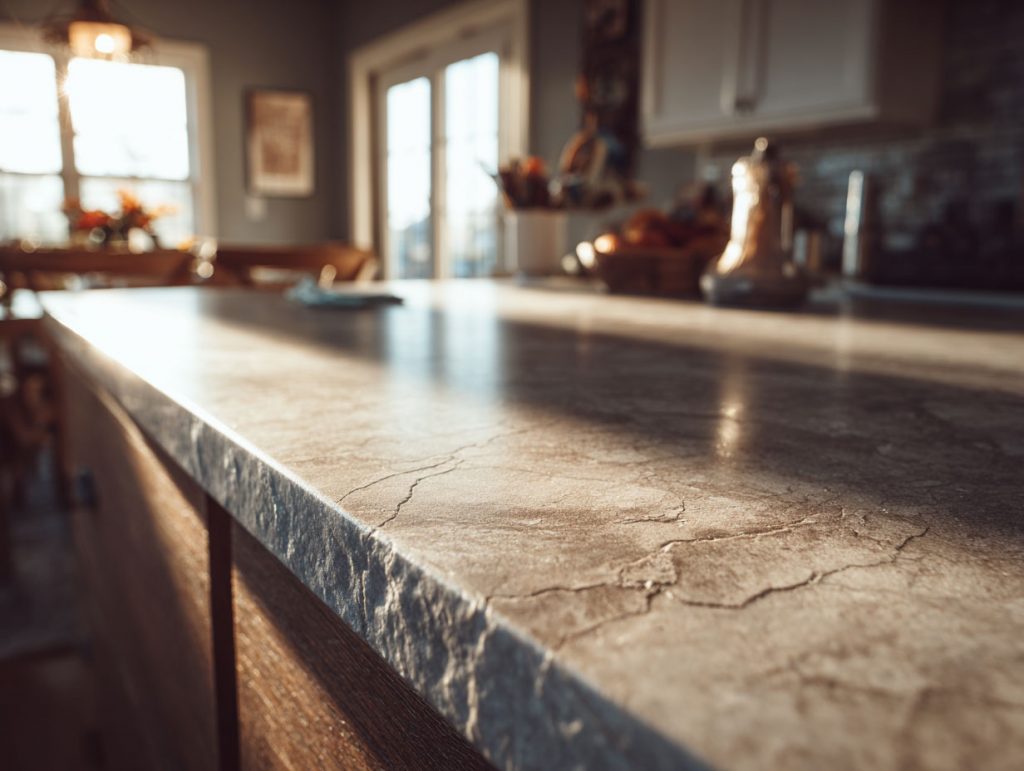
One afternoon, sunlight hit my countertop at just the right angle, and I saw it — a fine haze that no cleaner could remove. That’s when I realized I wasn’t cleaning surfaces anymore. I was layering damage.
The Wake-Up Moment
When Sharky’s cleaning crew came by for a scheduled deep clean, one of them showed me how a neutral cleaner wiped away months of residue in seconds — the same residue I’d been creating.
That was the moment I understood: cleaning isn’t just about what you use, it’s about what you leave behind.
Understanding What Went Wrong
When I started researching what had happened to my home surfaces, I realized the issue wasn’t neglect — it was misuse.
Most household cleaners are designed to make things look clean fast. They dissolve grease, leave a scent, and dry quickly. But few are pH-balanced for the surface they touch.
Every material has its limits:
- Acids eat into stone.
- Alkalines strip wood finishes.
- Alcohol dulls plastics and laminates.
- Silicone sprays create a glossy film that attracts more dust.
I had done all of this without realizing it. My home wasn’t dirty — it was chemically fatigued.
Step 1: Cleaning the Cleaners
Before fixing my house, I had to fix my products.
I took every bottle I owned and read the label. Anything that said multi-surface, shine, polish, or fragrance went out.
Then I rebuilt my cleaning set from scratch — this time using the same logic Sharky’s Destin team follows: match the product to the material, not the room.
Step 2: Know the Surface, Know the pH
Here’s what I learned and still follow today:
- Wood & furniture: neutral pH (around 7). Too alkaline and you dry the surface; too acidic and you dissolve finish. Use barely damp microfiber, then buff dry.
- Stone (granite, marble, quartz): never acidic. Avoid vinegar, lemon, or anything with citric acid. Use pH-neutral stone cleaner and soft cloths only.
- Stainless steel: skip the “steel polish” sprays. They build film. Instead, use diluted alcohol (30%) and wipe with a clean microfiber along the grain.
- Glass: a small amount of alcohol and water (1:3). Too much cleaner leaves streaks.
- Tile and grout: mild alkaline (pH 8–9) breaks down soap residue without damaging sealant.
- Vinyl and laminate: neutral detergent with very little water; over-wetting weakens adhesive layers.
When I aligned cleaners to pH and material type, the difference was instant. The dull haze disappeared, and the natural finishes came back — not glossy, just authentic.
Step 3: Removing Old Residue
Most of the “damage” on my surfaces turned out to be layers of leftover product. Sharky’s crew showed me how to remove it safely:
- Wipe with warm distilled water — to dissolve water-based buildup.
- Use a mild degreaser (pH-neutral, non-scented) to lift silicone and wax films.
- Rinse with clean microfiber and distilled water again.
- Dry completely. Residue reappears if moisture stays trapped.
This process restored the true color and texture of my countertops, furniture, and even floorboards.
Step 4: Preventing Future Wear
Now I follow a few strict but simple rules:
- Always spray cleaner on the cloth, not directly on the surface.
- Rotate products every few months — even safe ones can build film.
- Never mix formulas, even if they seem similar.
- Avoid “quick shine” products; they hide dirt but damage finishes.
- Use distilled water for mixing concentrates — Destin tap water leaves mineral film.
Step 5: Less Product, More Precision
The final lesson from Sharky’s team: professionals don’t rely on strong chemicals — they rely on method and moderation.
Using less liquid, less pressure, and the right cloth produces better long-term results than any “power cleaner.”
Now, my kitchen counters have their matte texture back, the wood table feels smooth again, and my stainless steel reflects light naturally, not through polish.
The Result
My home looks calmer — not because it’s shinier, but because the materials finally look like themselves.
Everything breathes again: no films, no streaks, no overworked surfaces.
And every time I see sunlight touch the countertops, I’m reminded of Sharky’s golden rule:
“Clean for preservation, not perfection.”
That’s the real difference between cleaning and caring.
