The Illusion of a Perfect Floor
If you live in Destin, you know the feeling — you mop, the tiles shine, and the room looks spotless. Then you step barefoot across the floor an hour later, and something feels wrong.
Not sticky, not wet — just gritty. A faint layer of dust, fine sand, or cleaning residue that ruins that “freshly cleaned” moment.
For the longest time, I thought it was just our local air or humidity. After all, this is Florida — windows open, breeze coming through, and a bit of dust feels normal. But it wasn’t. It was the way I cleaned.
I realized that my floors looked clean but weren’t actually clean. The shine came from leftover cleaning solution, not from cleanliness itself. And that faint grit underfoot? It was a mix of detergent residue, dust pushed around by the mop, and particles from the air settling on still-damp floors.
When Shine Is Not Clean
I used to chase that glossy finish — more product, more water, more mopping. But the result was the opposite of what I wanted. My floors looked great for a few hours, then dulled again.
The problem wasn’t the dirt; it was me overusing products and not letting the floors dry properly.
The more I cleaned, the more buildup I created. Even the microfiber mop I used was holding old detergent, redistributing it in a thin invisible layer every time.
The Moment I Understood the Difference
One day, after Sharky’s team had cleaned a neighbor’s home, I stopped by. Their floors didn’t shine — they glowed. No smell of chemicals, no streaks, no film. Just natural reflection and air that felt light.
It made me realize how wrong my approach had been.
The difference wasn’t in how much they cleaned — it was in how precisely they did it:
- right amount of cleaner
- properly rinsed tools
- clean water every few minutes
- and no over-wetting the surface
That’s when I decided to start over — to learn how to clean my floors like a professional, not just make them look clean.
Understanding What Was Really on the Floor
When I stopped judging my floors by shine alone, I realized they were covered in invisible layers of residue — detergent, minerals from water, and micro-dust that stuck to damp surfaces. Under light, they looked fine. Under bare feet, they told the truth.
The only way to fix that was to clean not for appearance, but for texture. Floors should feel smooth, not slick or sticky. That’s what professional cleaners aim for, and it’s what I began to chase too.
Step 1: Switching to the Right Tools
The first thing I did was retire my old sponge mop. It absorbed dirty water and redistributed it. I replaced it with a flat microfiber mop with detachable pads, the kind Sharky’s team uses in Destin homes.
- Each pad gets rinsed or replaced after every small section (about 10–15 m²).
- I now use two buckets — one for clean water with detergent, one for rinse water.
- After each section, the pad goes in the rinse bucket, wrung out, and reloaded with fresh solution.
It sounds excessive, but it prevents smearing grime across the floor.
Step 2: Using Less Product, Not More
I used to think extra cleaner meant cleaner floors. In reality, excess detergent leaves film that traps dust faster.
Now I use exactly what professionals recommend — a few drops of neutral floor cleaner per gallon of warm water. Enough to lift dirt, not coat the surface.
When I switched to this minimal formula, I noticed something: the floors started drying faster, and that light tacky feeling disappeared completely.
Step 3: Water Temperature and Drying Time
I learned that warm, not hot, water works best. Hot water evaporates too fast, leaving streaks and uneven drying. Warm water loosens oils and dirt but gives you enough time to rinse properly.
After mopping, I immediately run ceiling fans or open windows to help floors dry quickly — standing moisture attracts dust and leaves dull patches.
Step 4: Cleaning by Sequence
Sharky’s team never mops first. They follow a simple but crucial sequence:
- Vacuum or sweep thoroughly — not just the center of the room.
- Use a dry mop to pick up fine dust.
- Then apply the wet mop with minimal water.
- Finish with a clean, dry microfiber pad for polishing.
Once I started following that exact order, the results changed completely. My floors stayed cleaner longer, and I no longer saw streaks in the morning light.
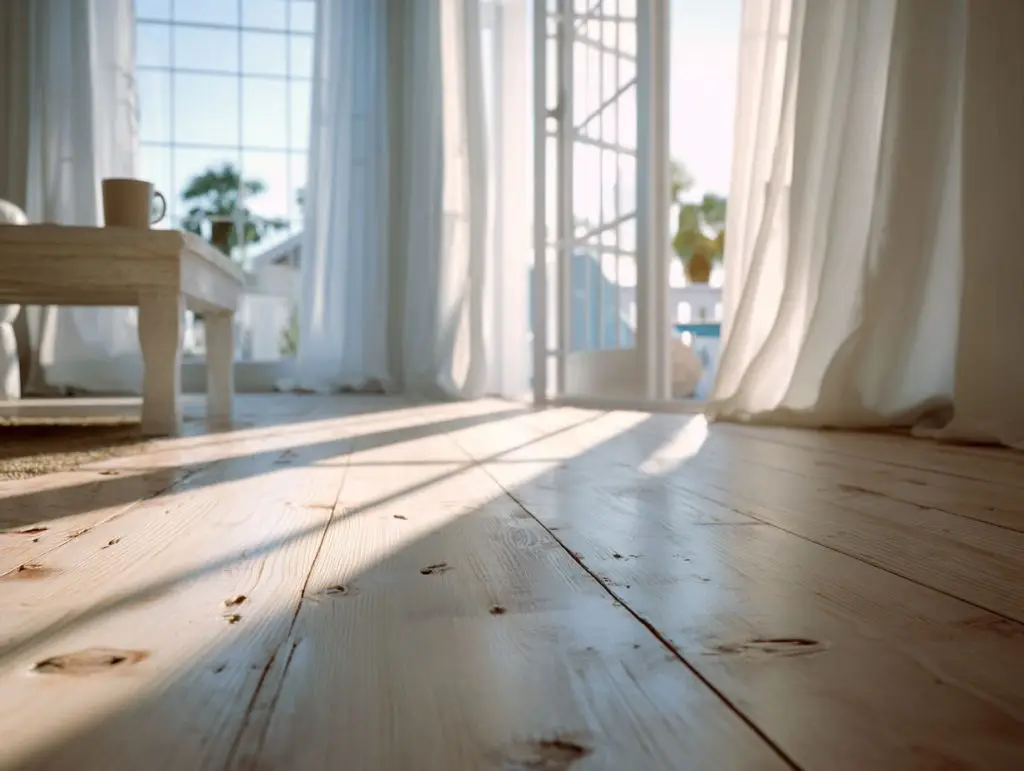
Step 5: Knowing the Material
Different floors demand different care:
- Tile or stone: mild alkaline cleaner, no acid-based products.
- Vinyl or laminate: neutral pH, minimal moisture, quick drying.
- Wood or engineered wood: barely damp mop, never soaking wet.
- Polished concrete: microfiber only, neutral detergent, rinse carefully.
Most mistakes happen when homeowners use one product for everything. I did too. Once I matched product to material, the “gritty” texture vanished almost overnight.
Step 6: Regular Pad Maintenance
Even the best microfiber loses efficiency when dirty. I now wash my pads separately at 60°C with mild detergent — no softeners, no bleach. Clean tools are the foundation of clean floors.
The Result
After a few weeks, my floors changed completely. They no longer looked “shiny”; they looked alive — natural color, smooth texture, no scent of cleaner, and no trace of residue.
And the real test? Walking barefoot in the morning — cool, clean, silent floors underfoot. That’s when I realized what Sharky’s teams in Destin have mastered:
Professional cleaning isn’t about appearance. It’s about how your home feels when you touch it.
Read also: The Day I Realized I Was Cleaning Too Much
